|

|

|


|
Manipulating Your Table's Format |
Choosing the Number of Rows and Columns
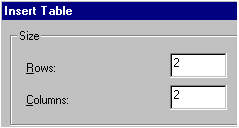
Use the Size section of the Insert Table dialog box to specify the number of rows and columns in the table.

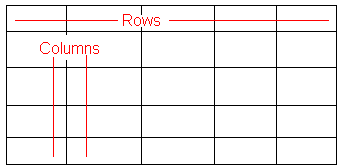
A row is a horizontal series of cells, while a column is a vertical series.

If you know how many rows and columns the table will be, enter those numbers. If you don't know the number of rows and columns you need when you create the table, estimate how many you need. You can add or remove rows and columns later.
Placement of Inserted Row or Column
If you add a row, it appears above the row in which the cursor was resting when you pressed Insert Row.
If you add a column, it appears on the left side of the table.
Adding or Removing Rows and Columns
To add or remove rows and columns after you create the table, follow these steps.
- Place the cursor in the cell from which you want to add or delete.
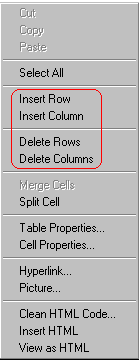
- Right click the mouse. A menu appears.

- Click the appropriate action from the menu. For example to add a row, click Insert Row.
Note
If you are working with nested tables, and you add or remove a column then undo that action and redo it, you must press the redo button once for each cell in the row or column.


|

|

|

|