|

|

|


|
Customizing Your Toolbar |
Removing or Adding Menu Items

Note
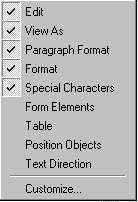
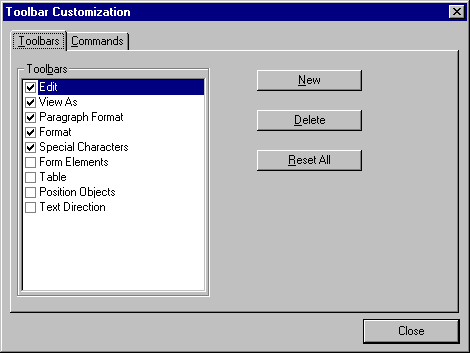
If Customize does not appear on the menu, you are not authorized to customize the toolbar.


Using the Customize Toolbar Dialog Box
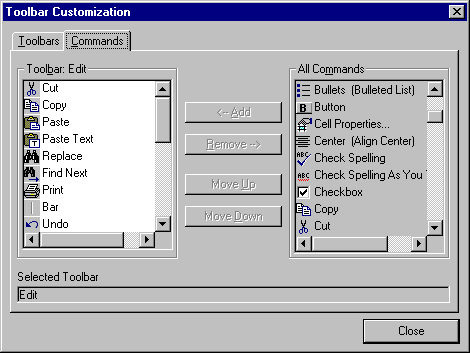
The left half of the Commands screen lists the buttons in the sequence in which they appear on the menu.
The right half of the screen lists available buttons that do not currently appear on the menu.
To add a button to the toolbar, drag it from the right side of the screen to the location on the left side where you want it to appear. (You can also click a button then click <--Add. This action places the button at the bottom of the list.)
To remove a button from the toolbar, drag it from the left side of the screen to the right. (You can also click a button then click Remove-->.)
The Move Up and Move Down buttons let you to move any button up or down one slot within the list of buttons.
Rearranging the Items on a Menu
- Click the button you want to move
- Click Move Up and Move Down to move the button up or down one slot for each click.


|

|

|

|