
|

|

|


|
Using the Data Designer |
Sample Screen Design
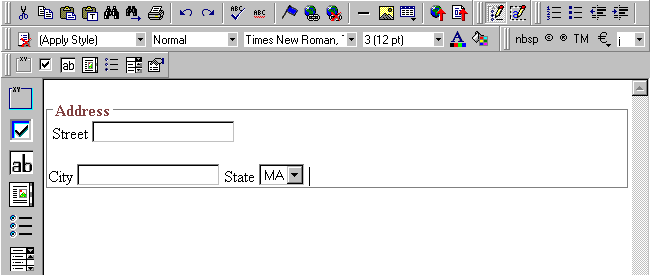
This section provides a brief overview of designing a screen, so that you can learn how the pieces fit together. Let's assume you want the screen to look like this.
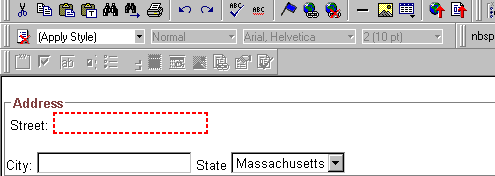
Note
The following example helps you understand how to create a simple data entry screen. It does not explain how to save a screen so that a user can enter data into it. You can access a good sample by navigating to Start > Programs > Ektron > eWebEditPro > Samples > ASP > Data Design > ASP Data Design Sample. When you are ready to create an actual screen, ask your system administrator to help determine a method for saving the screen and making it available to users for data entry.
To create such a screen, follow these steps.
- Sign on to eWebEditPro+XML in Data Designer mode. (Ask your system administrator how to do this. The Developer's Reference Guide (version 4.0 and higher) provides details.)
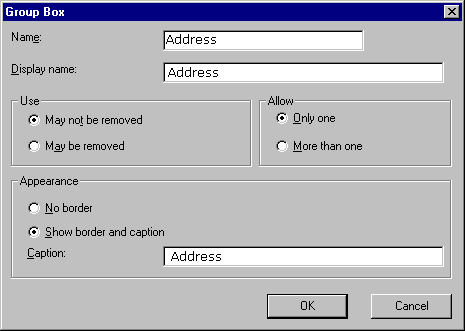
- Since you want to surround the data entry fields with a box and a caption, drag the Group Box button (
 ) from the drag and drop toolbar onto the screen. Then, complete the dialog as shown below.
Note
Later in the section, documentation is supplied for each field on the dialog box. Since this section is providing an overview, it does not delve into those details.
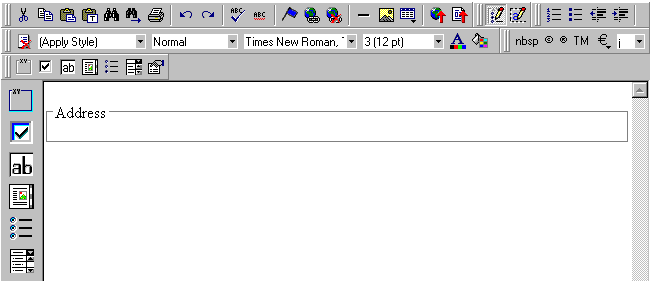
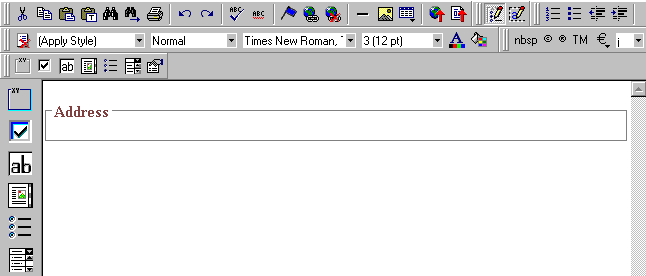
At this point, the screen looks like this.
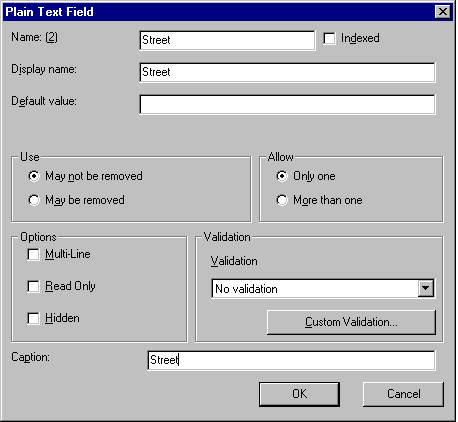
- The next field, street, should let the user enter text. So, drag the plain text field icon (
 ) into the space below Address. Then, complete the dialog as shown below.
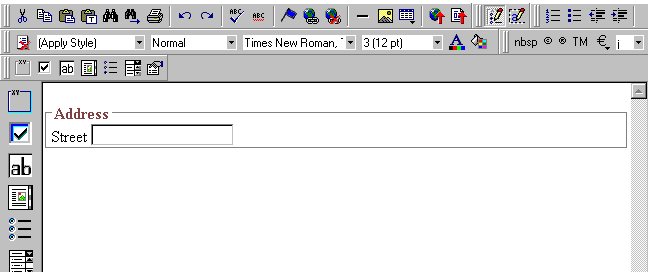
Now, the screen looks like this.

Note that the Street field is not wide enough. To widen it, click the field, move the cursor until you see a two-sided arrow, and drag the arrow to the right.
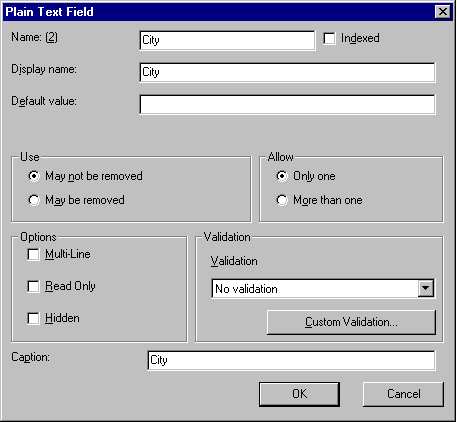
- The next field, City, should also let the user enter text. Assume that you want City to appear in the line below Street. To make room for City, move the cursor to the end of the Street field and press <Enter> to create a new line. Next, drag the plain text field icon (
 ) into the line below Street. Then, complete the dialog as shown below.
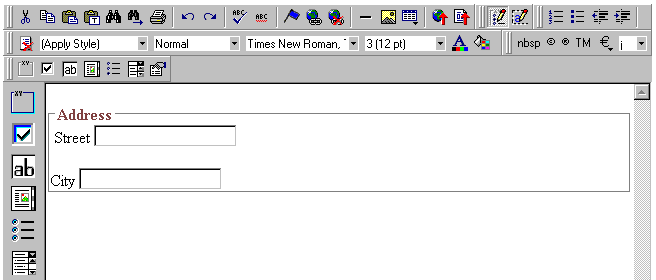
Now, the screen looks like this.
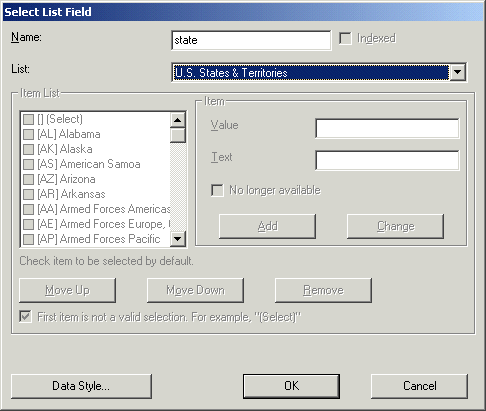
- The next field, State, should let the user choose from several states. Assume that you want the state to appear to the right of City. Move the cursor to the end of the City field and drag the Select List Field field icon (
 ) into that space. Then, complete the dialog as shown below.
Now, the screen looks like this.
The above example is very simple and does not use some of the Data Designer's more powerful and flexible features. To learn more about Data Designer, read the rest of this chapter.


|

|

|

|