|

|

|


|
Microsoft SharePoint Portal Server Integration |
Ektron CMS400.NET Web Parts
When configured properly, all Ektron CMS400.NET Web Parts are available to be inserted by browsing to the SharePoint Portal Virtual Server Gallery.
Inserting Ektron CMS400.NET Web Parts
This section explains the basics behind inserting Ektron CMS400.NET Web Parts.
- Log in to SharePoint Portal Server.
- Create or navigate to the Web Part zone into which you want to insert an Ektron CMS400.NET Web Part.
- Click Edit Page at the bottom of the left navigation menu.
- You are in Edit Page Mode.
- Click Modify Shared Page, Add Web Parts, then Browse.
- The Web Part zones are displayed, and the Add Web Parts menu appears on the right side of the screen.
- Click Virtual Server Gallery.
- A list of all Web Parts that have been added to the Virtual Server Gallery, including the Ektron CMS400.NET Web Parts, appears at the bottom of the page
Note
For information about Ektron CMS400.NET Web Parts, see Managing Ektron CMS400.NET Web Parts.
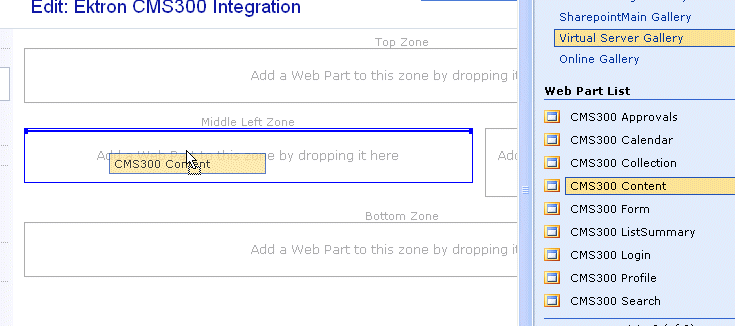
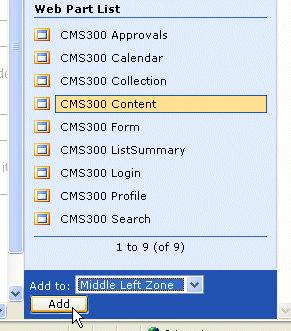
- Insert an Ektron CMS400.NET Web Part one of two ways:
MethodScreenDrag and drop the Web Part to the desired zone
 1. Click a Web Part.2. Choose the location at the bottom of the page.3. Click Add.
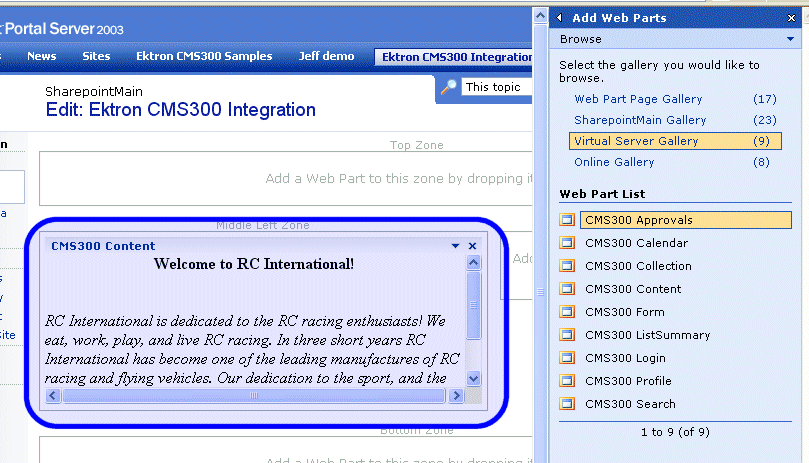
The selected Web Part is added to the selected zone.


|

|

|

|